Atlas-V Set Up
Ground Control Station
01
Connect GCS antenna to RF unit if needed (2 main datalink antennae)
02
Connect the rest of the system
03
Plug in the power supply and turn on
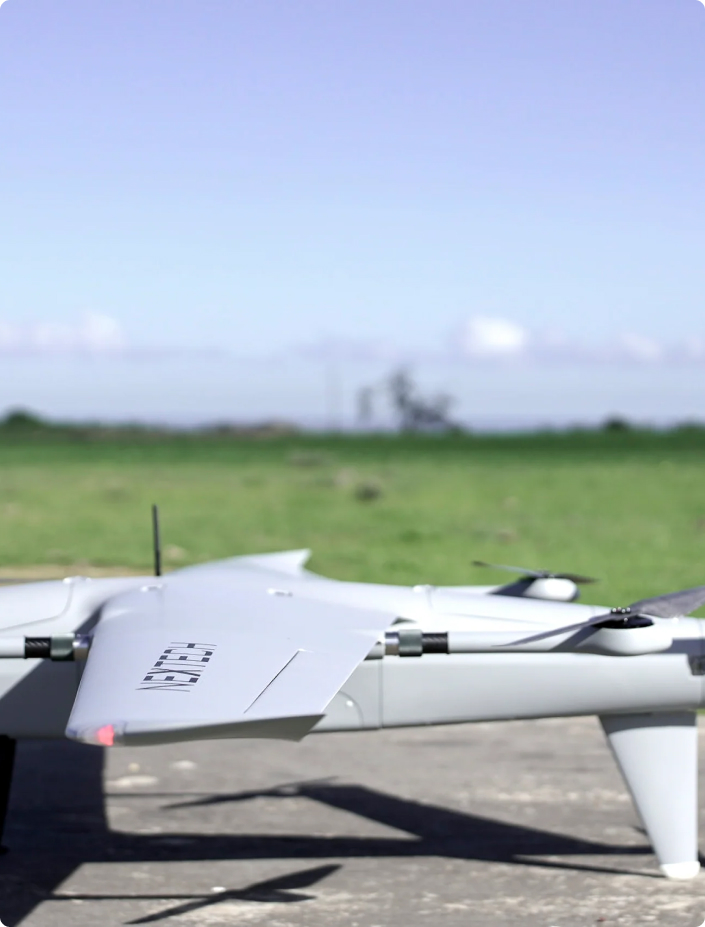
Flying Unit
Perform initial setup in a shaded spot to prevent the body of the aircraft from heating in the sun.
01
Assemble aircraft components ensuring electrical interconnectors are connected at each interface
Check all latches and clips are tight, and propellers and pusher motor mounting is secure
Check all propeller orientations
Check control surface hinges and linkages have minimal play / free movement
02
Attach antenna to the aircraft
2 x Datalink antennae (normally remain attached)
1 x air traffic module antenna (if relevant)
2 x DGPS antennae (normally remain attached)
03
Locate the batteries in the aircraft as shown in the assembly guide, Appendix A
04
Move the aircraft to the take-off position
05
Plug in the batteries
07
Check control surfaces for smooth movement, full throw travel and direction
08
Remove pitot tube cover
09
Calibrate airspeed sensor
Connecting
The datalinks usually take a minute to boot up, then:
01
Open Mission Planner
02
USR-VCOM should open automatically
03
Usually COM2 and 57600 baud rate, click in Mission Planner

Atlas-T Set Up
Ground Control Station
01
Connect GCS antenna to RF unit if needed (2 main datalink antennae)
02
Plug in the power supply and turn on
03
Ensure USR-VCOM is running
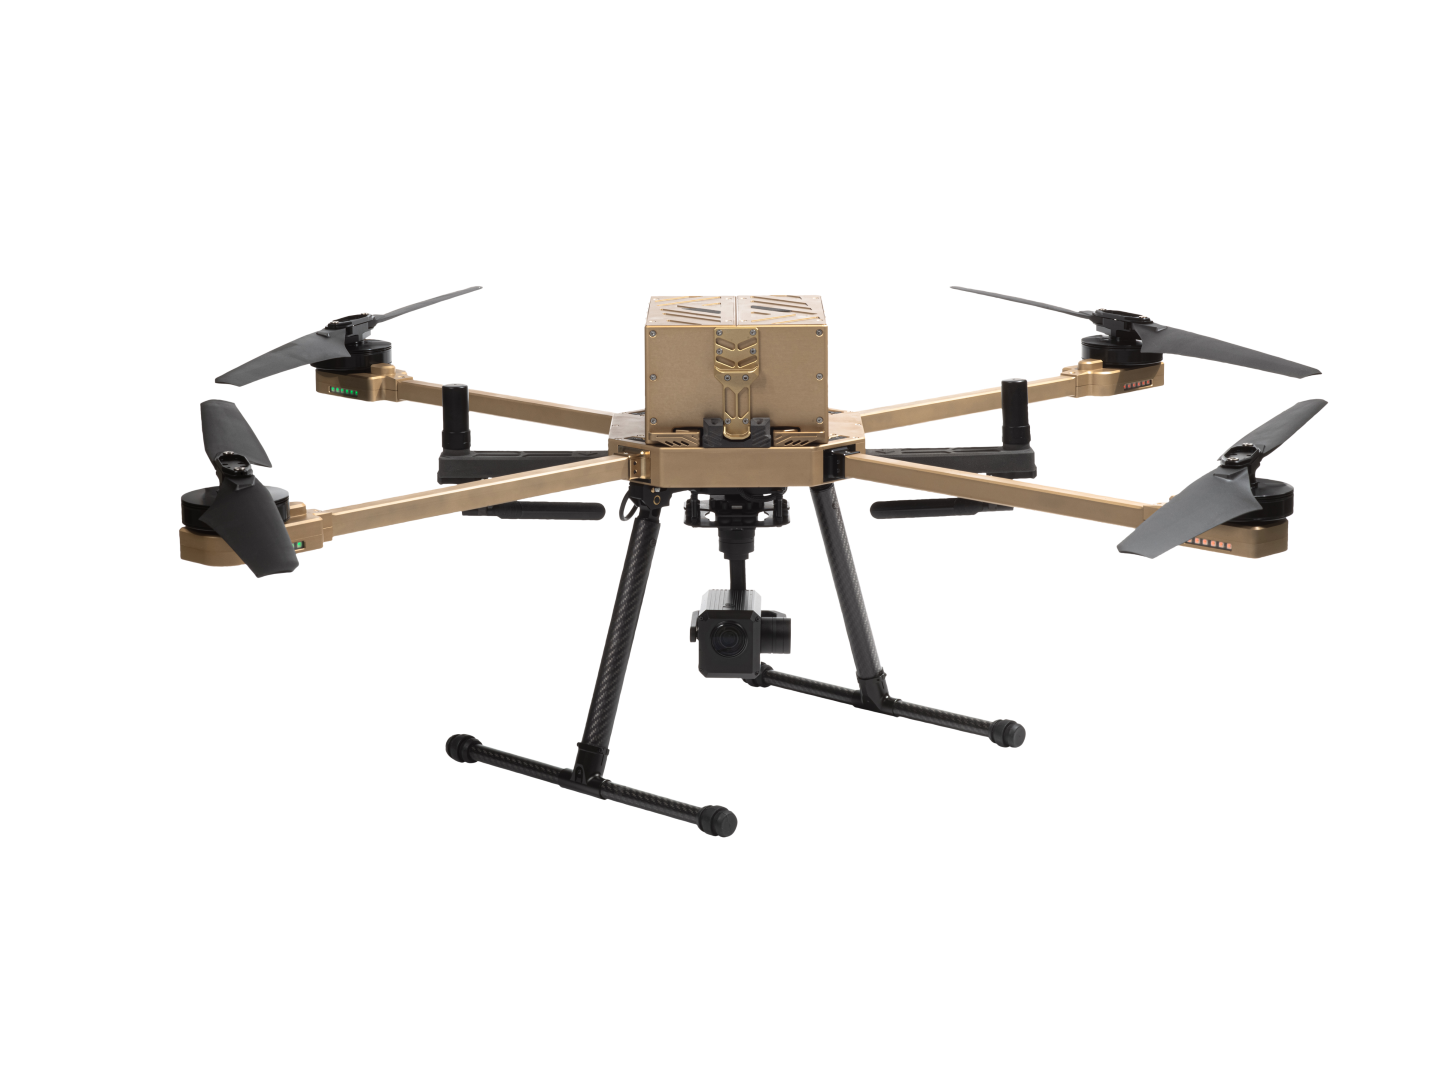
Flying Unit
Perform initial setup in a shaded spot to prevent the body of the aircraft from heating in the sun.
01
Connect landing gear and raise datalink antennae
02
Connect payload
03
Lift out of case and place on ground, upright
04
Fit arms, matching arm seat to key colours
05
Unfold propellers
06
Check 2x GPS and 2x datalink antennae are still connected and unbroken
07
Fit batteries to UAV, ensuring all four latches are clicked in securely
08
Keep UAV stable while the flight controller calibrates – 30 seconds after battery fitted
Connecting
The datalinks usually take a minute to boot up, then:
01
Open Mission Planner
02
USR-VCOM should open automatically
03
Usually COM2 and 57600 baud rate, click in Mission Planner
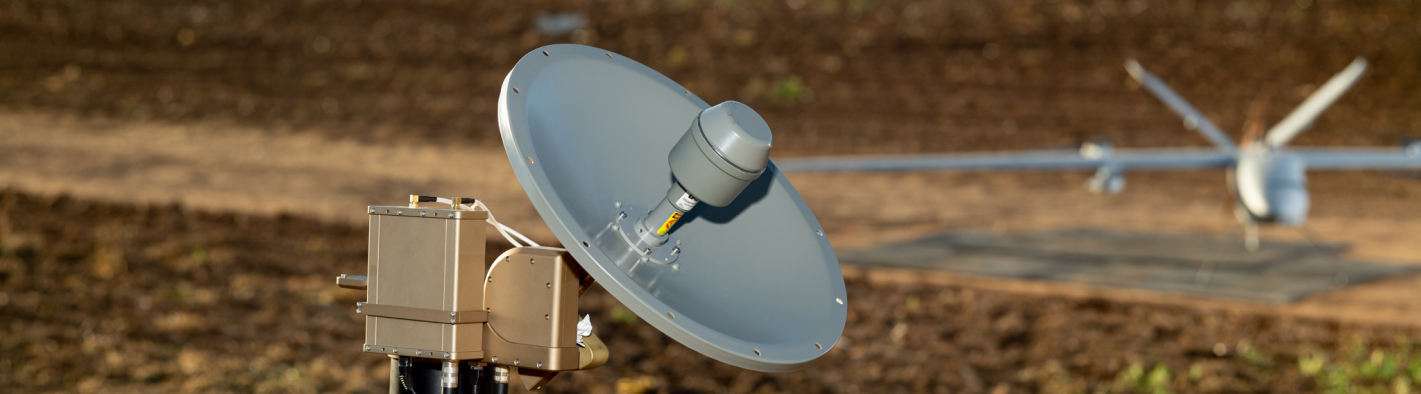
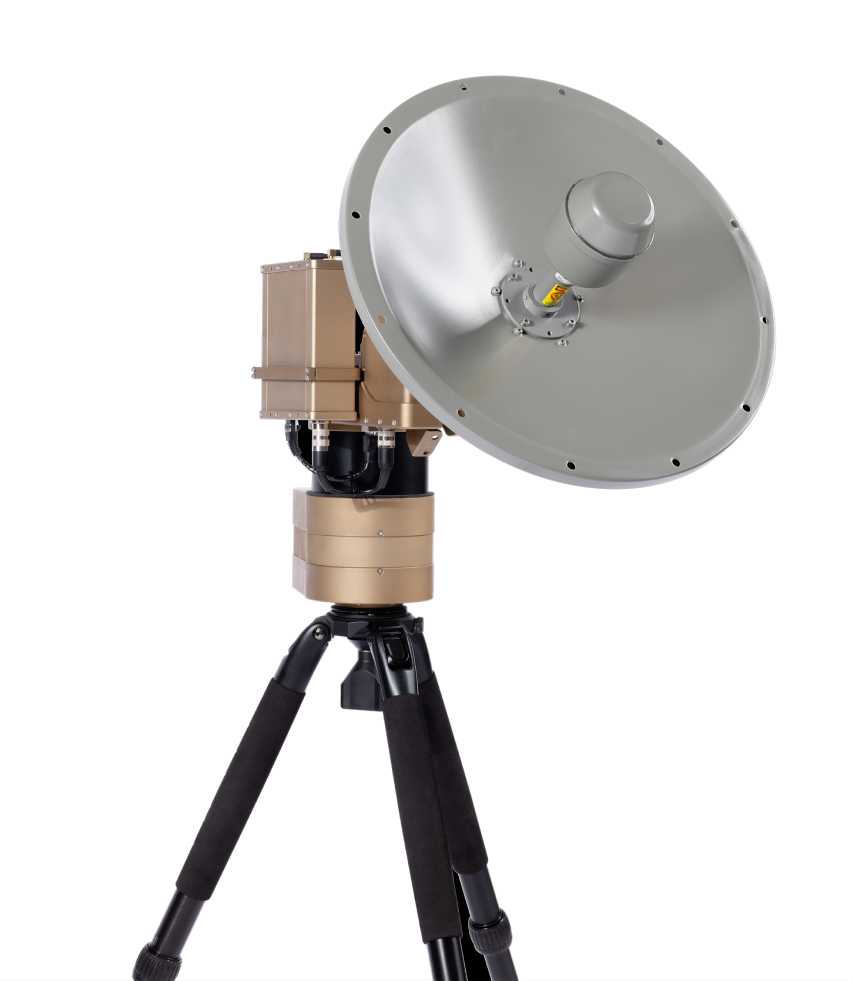
Antenna Tracker Set Up
Recommended Set Up Procedure
01
Remove the antenna tracker body from its box and screw on the tripod
02
Install the motion sense arm on the top of the antenna tracker body
03
Install the RF dish antenna and RF transceiver
04
Plug in the passthrough cables between the antenna tracker and RF transceiver
05
Plug in a ethernet cable from port 2 to the control PC
06
Start and setup the serial control terminal
07
Power the antenna tracker
08
USR-VCOM should open automatically
09
Ensure MAVLink input is connected and the GPS on the antenna tracker and UAV is locked
10
Enter TRACK Mode
11
Allow the antenna tracker to orientate itself to the calculated direction
12
When the antenna tracker has settled, reorientate the tripod so that the dish antenna is inline with the UAV.
13
Do not move the antenna tracker while the UAV is in flight.